Residential rooms
Bedrooms, living rooms, kitchens, wardrobes and other designed spaces from approved SketchUp cameras.
Vivid is interior rendering software for designers who already know what the space should be. It uses the approved SketchUp view to add photographic light, texture and atmosphere while keeping the camera and design recognisable.
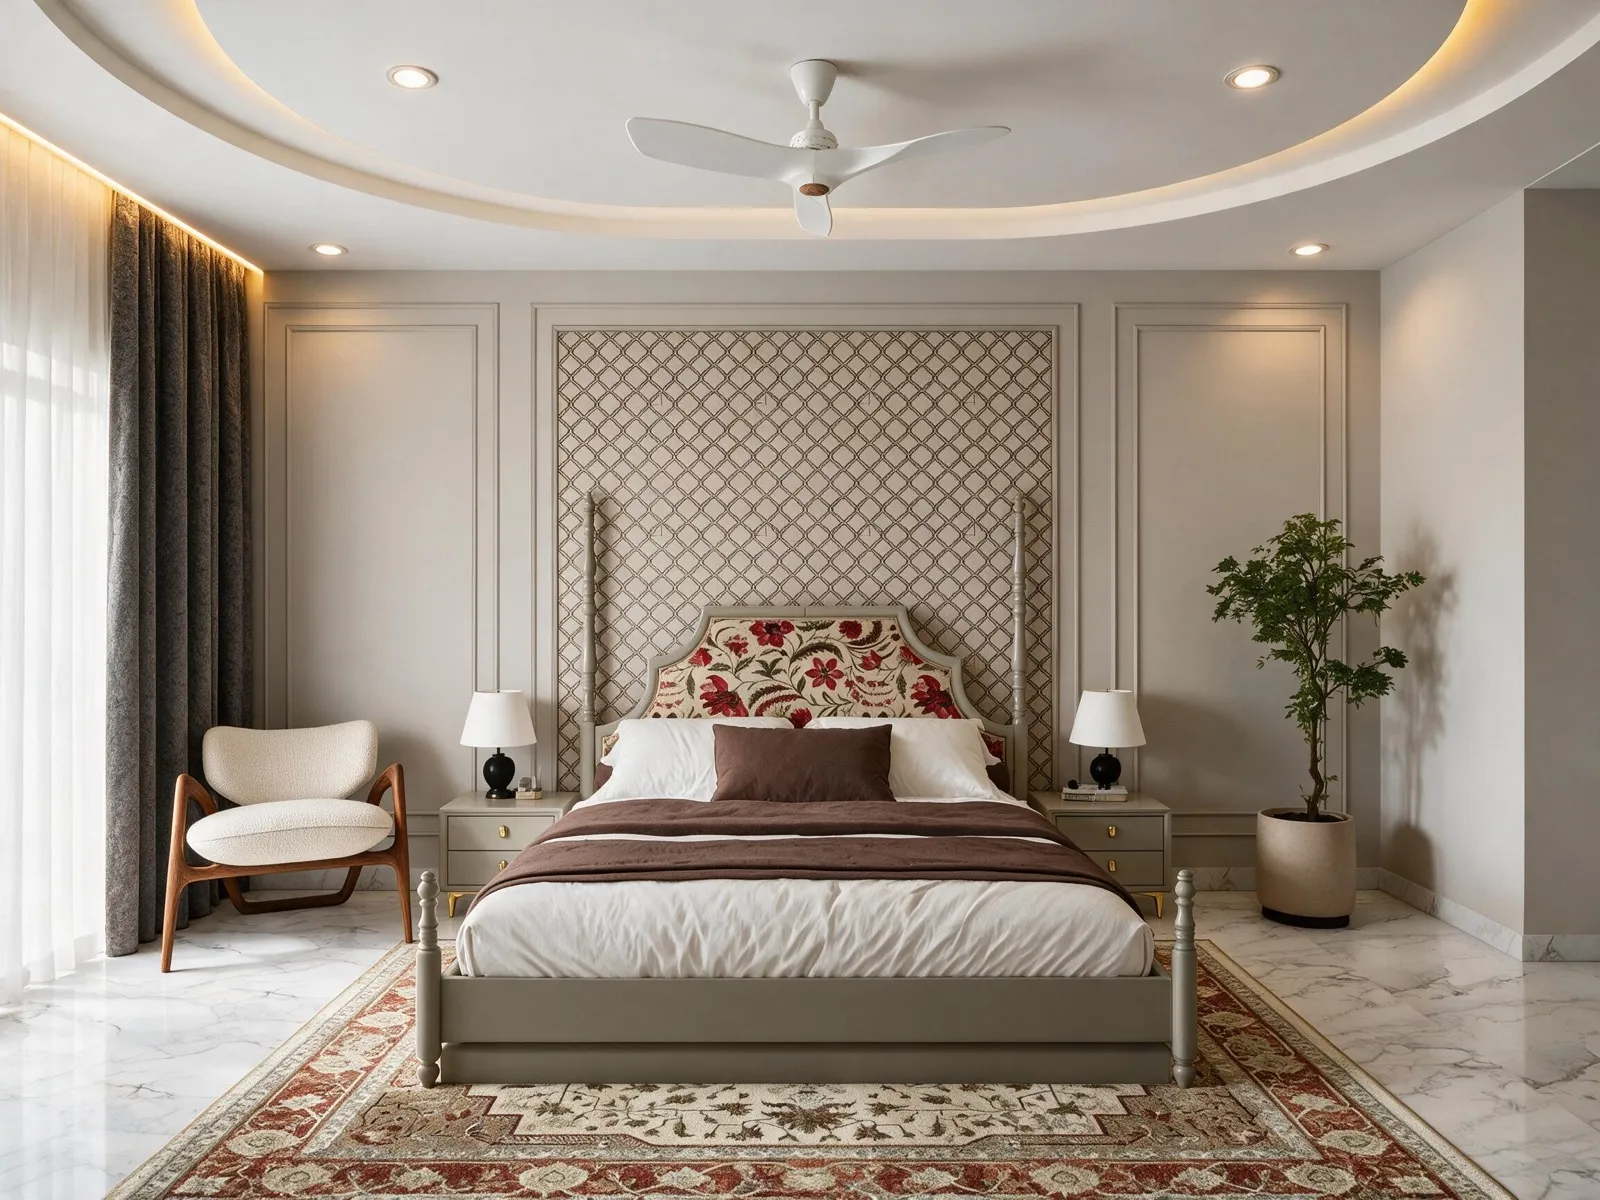
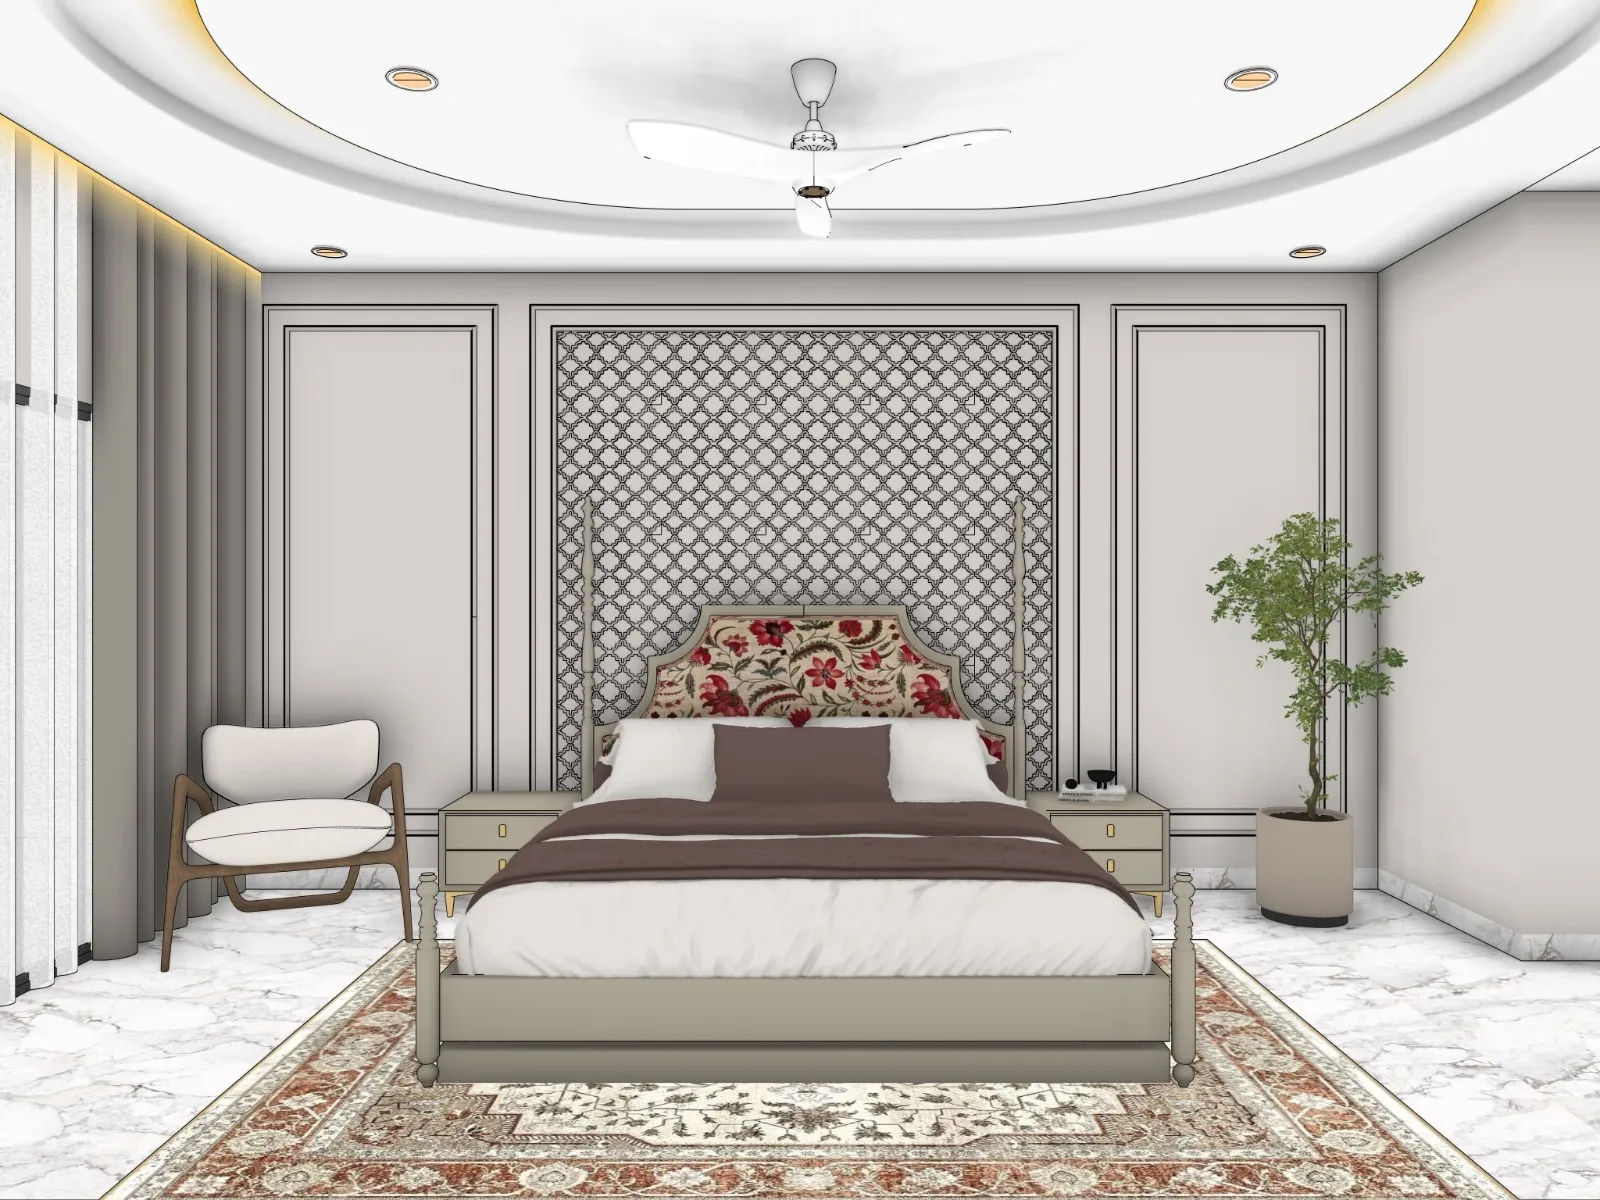
An interior render is useful when a client can connect it to the plan and model they approved. The camera should show the expected wall. The bed, wardrobe, ceiling and windows should occupy the same relationships. Materials can become more believable, but their identities should not drift without instruction.
Vivid’s workflow begins with that requirement. A SketchUp viewport carries the layout and visual hierarchy. The renderer builds realism on top of the source, while the designer remains responsible for checking geometry, colour, light and details before the image leaves the studio.
Bedrooms, living rooms, kitchens, wardrobes and other designed spaces from approved SketchUp cameras.
Presentation views where shelving, counters, display lighting and customer circulation must remain legible.
Focused versions that help compare a controlled surface, colour or finish without rebuilding the complete scene.
Named versions, marked changes and downloadable project views that keep feedback organised.
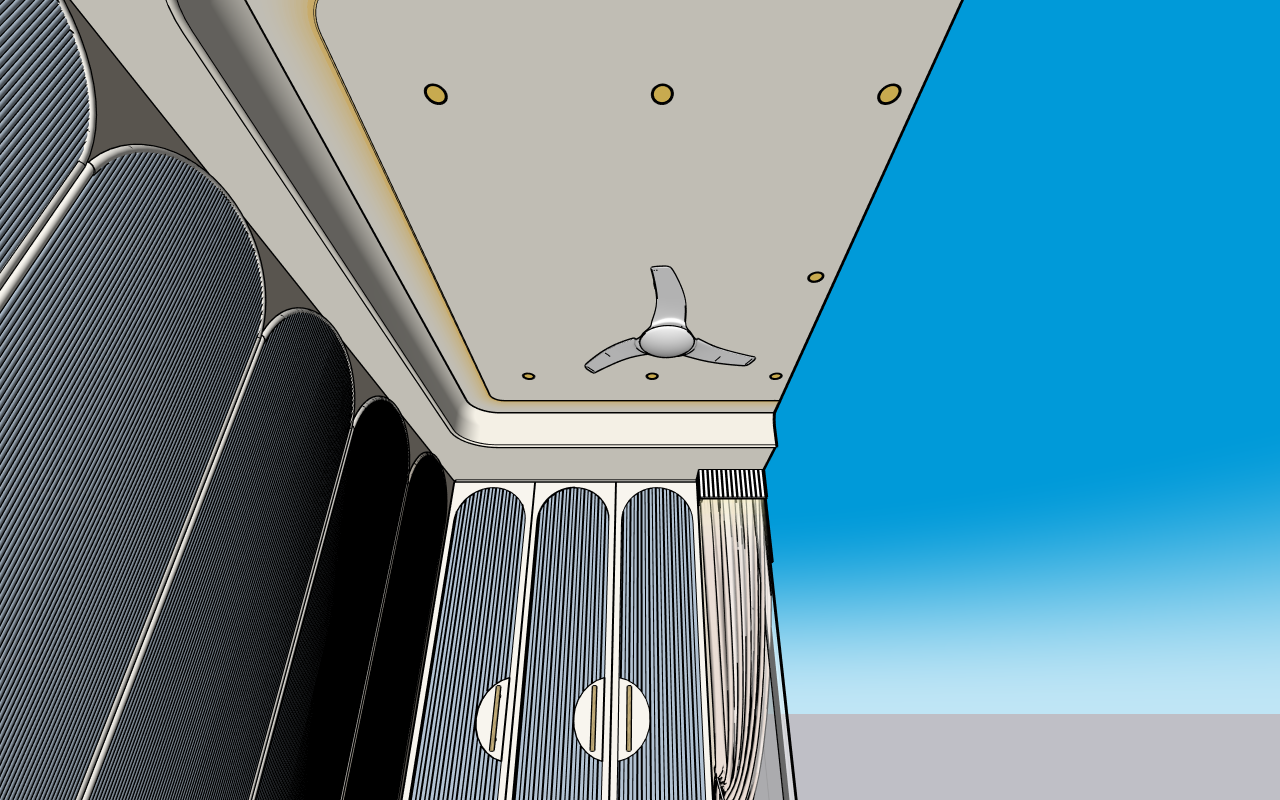
Interior scenes often depend on coves, niches, shelves and mirror lighting. Vivid Export lets the designer create glow objects along the intended location in SketchUp. The instruction is spatial and visible: light this edge, not every warm-coloured trim in the room.
This is especially useful for joinery-heavy rooms where a generic AI system might mistake gold, yellow or bright material edges for LEDs.
Our SketchUp bedroom case study uses a real Vistaar Studio source view and shows the output next to it. You can inspect the camera, bed, ceiling and wall treatment yourself.
Use a clear SketchUp viewport showing the approved camera, furniture, ceiling, openings and material direction. The Vivid Export plugin can send the current scene or all saved scenes directly.
That is the intended workflow. The source image gives Vivid the existing room geometry and furniture placement to preserve. Every result should still be reviewed against the source before client delivery.
The SketchUp plugin creates visible glow guides along locations chosen by the designer. These guides communicate intended emission instead of letting the renderer invent unmarked coves.
Yes. Write a focused instruction or mark the exact area on the image, then create a new version while retaining the earlier result.
Standard Vivid renders are delivered at 2K and can be downloaded as PNG files. Project delivery can package the latest selected views together.
Start with a SketchUp scene. Keep the design decisions. Make the result presentation-ready.
Get the SketchUp plugin